Leave Your Message
A Portable Dust Collection System can turn a crowded work area into a cleaner, more workable space. But “portable” alone does not mean suitable for every tool. A compact unit may roll easily beside a benchtop sander, yet struggle with a long hose or demanding machine. The details matter.
Dust-collection educator Bill Pentz is often associated with the source-capture principle. In paraphrase, not as a verified direct quotation: capture dust near the point where it is created. That idea helps guide a practical choice. Check airflow and static-pressure information, then compare it with the tool’s requirements. Look at hose diameter, filter design, dust-bin capacity, and how easily filters can be cleaned. Small details count. A clogged filter can reduce performance, while a narrow hose may restrict collection.
Consider the room, too. Will the unit fit through a doorway? Can its wheels cross floor joints? Is the noise acceptable during a long session? These questions are easy to overlook on a product page. Specifications help, but they do not show how a collector behaves in your actual workspace. A careful choice balances tool compatibility, mobility, maintenance, and available space. No single model suits every shop. That is worth remembering before comparing prices.
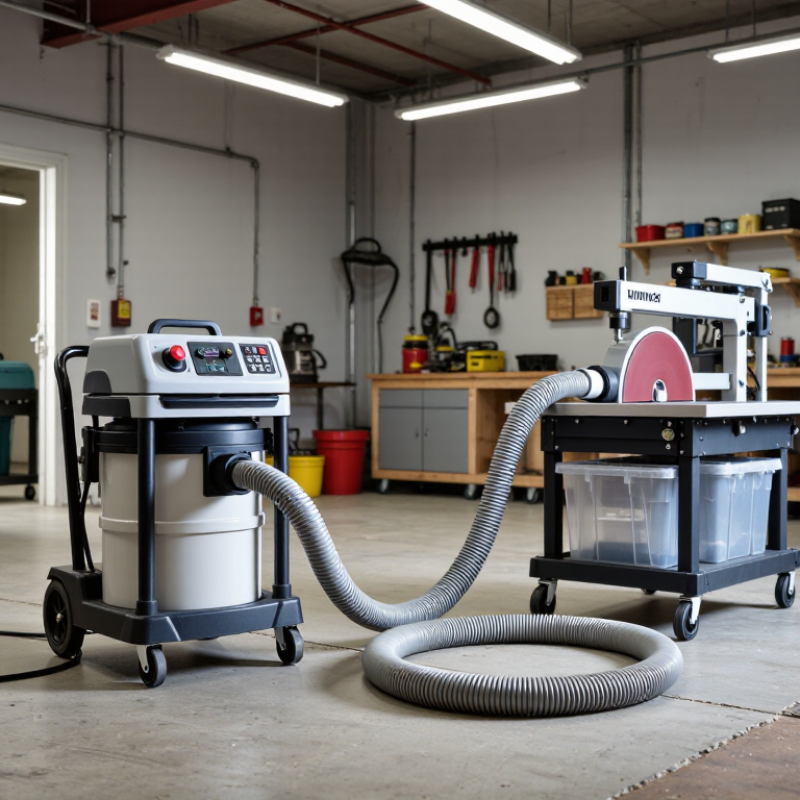
Before choosing a portable dust collection system, identify what your workshop actually produces. A table saw sends out coarse chips and heavier shavings. A sander creates finer dust that can hang in the air and settle on shelves. Start with observation. Check the floor, machine guards, and nearby surfaces after a typical work session. The mess often reveals more than a tool’s stated dust-port size.
Note how much debris each task creates and whether it is dry, damp, or mixed with offcuts. A planer may fill a bin quickly with bulky shavings, while prolonged sanding can produce a small-looking but persistent cloud. Small clues matter. Dust that gathers in corners may indicate weak capture at the source. Fine residue on a workbench can signal that the collection setup is missing airborne particles.
Also consider the material and the way you work. Wood species, coatings, and composite materials can produce different dust, so consult relevant safety information before collection. Measure the machine ports and note how many tools you use at once. A collector that handles chips well may not capture fine sanding dust as effectively. I have found that estimating by eye is easy—and often wrong. Keep a simple log of cleanup frequency, filter loading, and visible leakage during ordinary jobs.
Start by identifying the material, particle size, and debris produced by each tool. Match the collector, hood, hose, and filter to the task, and verify the tool’s airflow and static-pressure requirements before choosing a system.
| Workshop Activity | Typical Dust or Debris | Collection Considerations | Filter and Safety Notes |
|---|---|---|---|
| Table saw, planer, or jointer | Large wood chips mixed with fine sawdust; particle size varies with the cut and material. | Use a close-fitting machine port and a hose sized for the tool. A separator can help keep larger chips out of the filter. | Choose a filter suitable for fine wood dust and maintain it as directed. Fine wood dust can irritate the respiratory system and may be combustible. |
| Random-orbit or belt sanding of wood | Fine, lightweight wood dust produced continuously at the sanding surface. | Prioritize source capture at the sander’s dust port. Check that the collector provides the airflow required by the tool. | Use an appropriately rated fine-particle filter. Empty the collector and clean filters carefully to avoid releasing accumulated dust. |
| Drywall cutting or sanding | Fine gypsum and joint-compound dust that can remain suspended in the air. | Use a sanding shroud or tool connection designed for dust extraction. Keep hoses and connections sealed. | Use filtration suitable for fine dust and follow the material and tool instructions. Avoid dry sweeping; use an appropriate vacuum or damp cleanup method. |
| Metal grinding or deburring | Metal particles, grinding dust, and potentially hot sparks or abrasive fragments. | Use equipment specifically suitable for the metalworking task. Do not assume a general-purpose wood-dust collector is safe for sparks or hot debris. | Check the material’s hazards and the collector’s permitted applications. Some metal dusts can present fire, explosion, or health hazards. |
| Plastic cutting or sanding | Fine plastic dust, short shavings, or curls, depending on the process and material. | Capture dust close to the tool and select a hose and inlet that will not readily clog with larger curls or shavings. | Plastic types differ. Review the material safety information, especially if heating, machining, or producing very fine dust. |
| Concrete, mortar, or masonry drilling and grinding | Very fine mineral dust; concrete dust may contain respirable crystalline silica. | Use a tool shroud and extraction system designed for the task. A standard workshop collector may not provide the required control. | Follow applicable silica-control regulations and exposure-control procedures. Use properly selected, maintained filtration and respiratory protection where required. |
| General bench cleanup | Mixed sawdust, small chips, and settled workshop debris. | Choose a suitable floor or bench attachment and a container with adequate capacity. Do not use a collector to pick up liquids unless it is designed for them. | Do not collect hot ash, smoldering material, or unknown hazardous dust. Follow the equipment’s operating and disposal instructions. |
Selection reminder: Dust properties and tool requirements vary. Check the tool manufacturer’s specified airflow and static pressure, collector compatibility, filter rating, and applicable workplace safety guidance. A dust collector is not a substitute for required exposure controls or respiratory protection.